

From idea to live in four steps
- Write your tools in a Rust crate with
aomi.tomlandsrc/lib.rs. - Build it with
cargo build --release. - Deploy. The backend builds your plugin and creates a release. Use
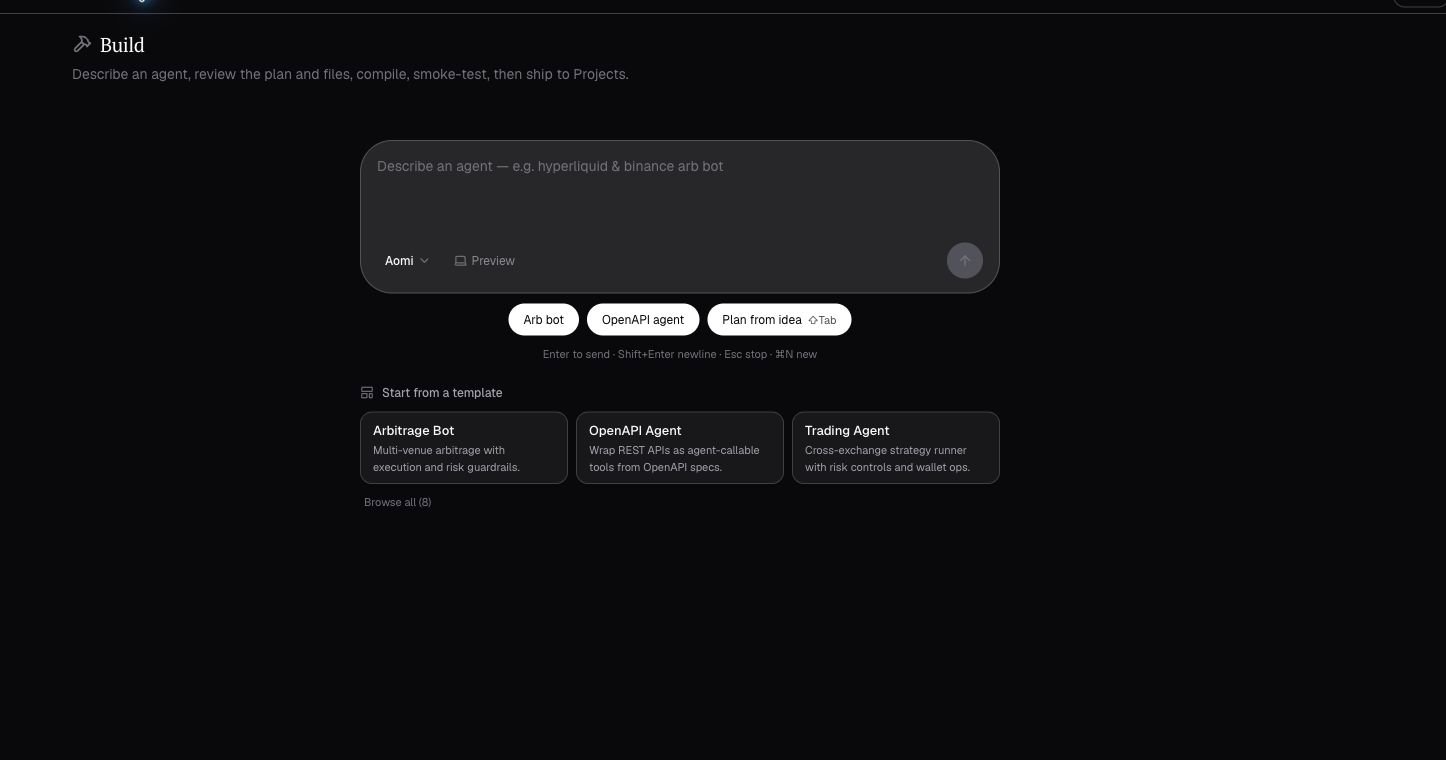
aomi-buildfrom your terminal or the Developer Platform from your browser. - Activate. The release loads onto the live runtime, and your App is live.
Before you start
1
Check Rust
The SDK uses the No Rust yet? Install it from rustup.rs.
2024 edition, which needs Rust 1.85 or newer. A recent stable toolchain works.2
Check git
Your source lives in a git repo. The backend reads that repo through the Aomi GitHub App you connect later.No git yet? Install it from git-scm.com.
3
Install the toolchain
There is one CLI: There is no
aomi-build. The cli feature builds it. Add dev-runtime to also get aomi-run, which lets you chat with your App locally before you ship.--version flag, so confirm the install with --help:Write your App
Your App is three small files. Make a folder and add them.1
Create the folder
2
aomi.toml
This tells the platform who your App is and where it ships.
aomi.toml
3
Cargo.toml
Your App compiles to a
cdylib. Pin aomi-sdk to the exact version the platform requires. Run aomi-build sdk check to get the current number, and pin it exactly with a leading =. The example below was verified with published version =5.1.1.Cargo.toml
The required version moves often. Do not copy the number above and assume it is current. Run
aomi-build sdk check for the live requirement, or aomi-build sdk fix to set the pin automatically. The runtime loads a plugin only if it was built against the required version.4
src/lib.rs
One tool plus the The
dyn_aomi_app! macro that registers it. This tool takes a name and returns a greeting.src/lib.rs
DESCRIPTION is what the model reads to decide when to call your tool, so write it as a trigger. namespaces = [] means your App asks for no host powers like wallet signing.Build and ship
1
Build it
2
Commit your files
Deploy works from a clean commit. Add a Push this commit to the GitHub repo you will connect in the next step.
.gitignore so build output does not dirty the tree.3
Connect your repo
The first time you ship, connect your source repo. This installs the Aomi GitHub App and saves your activation token. Run it once, not per deploy.It prints a browser URL to install the Aomi GitHub App on your repo. Install it, then paste back the
installation_id GitHub shows you. The backend reads your source through this install on every deploy.4
Check the plan
A dry run shows the plan and runs the checks. It deploys nothing.The dry run previews the deployment manifest and runs the preflight checks. Fix anything it flags in your
aomi.toml, then run it again.5
Deploy
6
Watch CI
7
Activate your release
Once CI is green, activate the release yourself. Set your activation token as The backend fetches your release, validates it, and loads it. Within a few minutes your
AOMI_APP_ACTIVATION_TOKEN.greet tool appears in the agent for new chats.What you have now
You have a deployed Aomi App on the live runtime. You wrote three files, deployed with
aomi-build deploy, and activated the release with your activation token. Your greet tool now runs inside real chats.Aomi App
The anatomy: tools, arguments, the preamble, and host namespaces.
Deploy and activate
The full shipping process, the validation pipeline, and troubleshooting.
Common errors
The errors you are most likely to hit, each with its fix.